
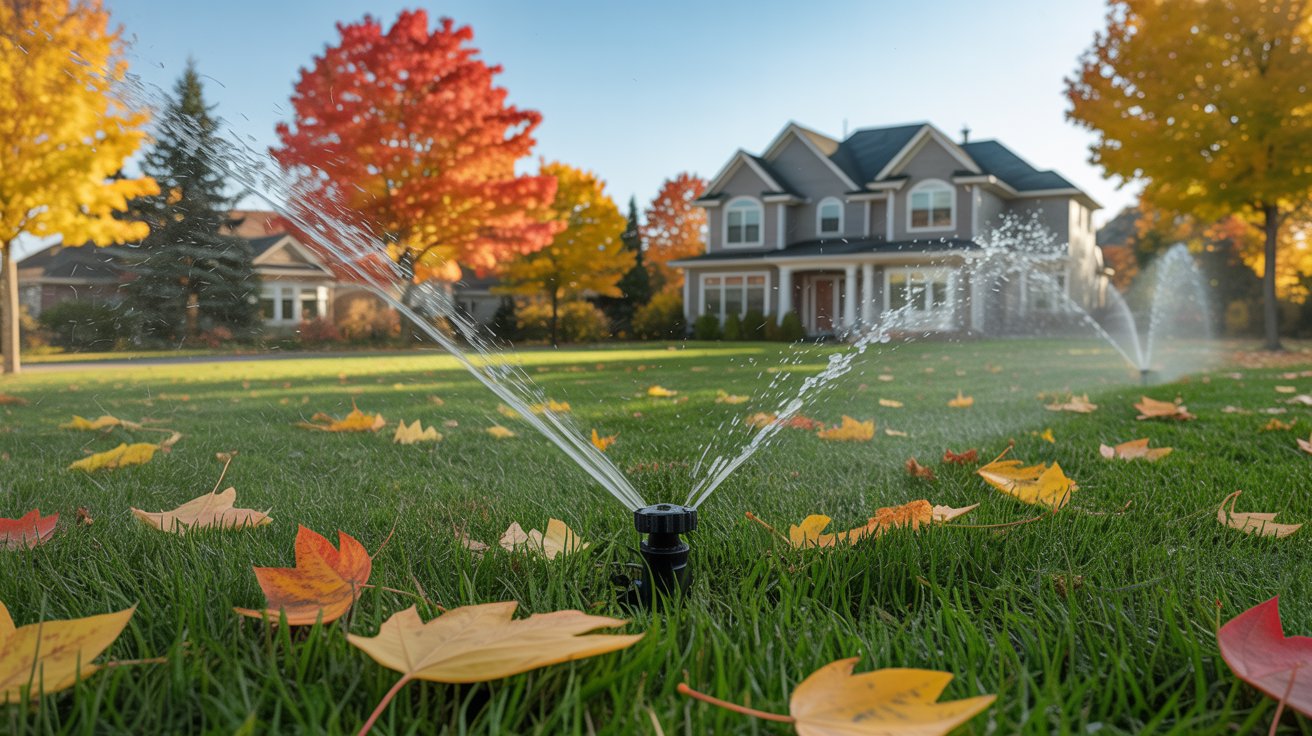
How to Blow Out Your Sprinklers in Saskatoon: A Step-by-Step Guide for Property Owners
Don't Let Saskatoon's Winter Freeze Your Sprinkler System — Here's What to Do
If you own a home, acreage, or rental property in Saskatoon with an in-ground irrigation system, there's one fall task you simply cannot afford to skip: blowing out your sprinklers. Saskatoon winters are notoriously harsh, with temperatures plummeting well below -20°C for weeks at a time. Any water left sitting in your underground irrigation lines can freeze, expand, and crack pipes, valves, and sprinkler heads — leaving you with a costly repair bill come spring. The good news? A little preparation in the fall goes a long way toward protecting your investment all winter long.
Whether you're a seasoned homeowner or you've just purchased your first property, this step-by-step guide will walk you through exactly how to blow out your sprinkler system safely and effectively before the deep freeze sets in.
When Should You Blow Out Your Sprinklers in Saskatoon?
Timing matters. In Saskatoon, aim to complete your sprinkler blow-out in late September to mid-October, before consistent overnight freezing temperatures arrive. Don't wait until the first hard frost to get started — by then, you may already be dealing with damage. Add this task to your fall checklist alongside other seasonal maintenance like insulating exposed pipes, cleaning your gutters, and sealing drafts around windows and doors.
What You'll Need
- An air compressor capable of delivering 5–8 CFM (cubic feet per minute) at 40–60 PSI — higher CFM means quicker, more effective results
- A blow-out adapter fitting compatible with your backflow preventer
- Safety glasses or eye protection
- Access to your irrigation controller and zone map
Important safety note: If you're using a gas-powered compressor, never operate it indoors — this includes garages with the door closed. Gas-powered equipment produces carbon monoxide, which is colourless, odourless, and deadly.
Step 1: Shut Off the Water Supply
Start by turning off the main water supply valve to your irrigation system. This is typically located in your basement or utility room. Once the main valve is closed, open an outdoor faucet briefly to relieve any remaining pressure in the lines. This simple step prevents a pressure surge when you connect the compressor.
Step 2: Set Up Your Air Compressor
Regulate your compressor to deliver air at 40–60 PSI — no higher. Excessive pressure can damage your irrigation lines, fittings, and sprinkler heads. Higher CFM within the safe pressure range is preferable because it moves more air volume through the system, flushing water out more efficiently.
Step 3: Connect and Blow Out Each Zone
Attach the blow-out adapter to the backflow preventer, which is typically located near your water meter or where the irrigation line branches off your main supply. Once connected, turn on your irrigation controller and activate one zone at a time. Turn on the compressor and allow air to push water out through the sprinkler heads in that zone. Run each zone until no more water sprays from the heads — this usually takes 2–3 minutes per zone.
Critical safety reminder: Never stand directly over a sprinkler head while blowing out the system, and always wear eye protection. Pop-up heads can eject debris along with water. Also, never run the compressor with all zone valves closed — the air needs somewhere to go, or you risk damaging the system.
Step 4: Check All Zones Thoroughly
Work through every zone in your system one by one. Pop-up heads may sputter and release a small amount of water at first — that's normal. Keep blowing until the heads run completely dry. Don't rush this step. Missing even one zone can leave enough water in the lines to cause cracking and damage over the winter.
Step 5: Drain, Disconnect, and Secure
Once all zones have been blown out, drain any remaining water from the lines if your system is equipped with a manual or automatic drain feature. Remove the blow-out fitting, close and cap the backflow preventer securely, and power down your irrigation controller or switch it to its winter/off setting.
Bonus Tip: Inspect While You're At It
Fall blow-out time is the perfect opportunity to inspect your system for leaks, damaged heads, or broken fittings. Making note of any issues now means you'll be ready to hit the ground running when spring arrives — rather than discovering problems after your lawn has already suffered.
Not Comfortable Doing It Yourself? Call a Pro
There's no shame in calling in a local Saskatoon irrigation professional to handle the blow-out for you. This is especially worthwhile for larger properties, acreages, or complex multi-zone systems. The cost of a professional service call is a fraction of what you'd pay to repair frozen and cracked irrigation lines in the spring.
Winterization Is Part of Protecting Your Investment
Responsible homeownership means thinking ahead. Whether you own a single-family home, a rental property, or a rural acreage, your irrigation system is a significant part of your property's infrastructure — and protecting it from Saskatoon's brutal winters is simply smart ownership. A well-maintained property holds its value, attracts better tenants, and costs far less to maintain over time.
If you're thinking about buying or selling a home in Saskatoon and want guidance from someone who truly knows this market, I'd love to help. Visit www.HousesinSaskatoon.com to explore current listings, get market insights, and connect with a local expert who can help you find the right property — and make the most of it for years to come.